Why use video for your facility safety orientation?
Using a facility or site safety orientation video is a powerful way to engage your audience, improve information retention, and visually demonstrate important procedures and routes. It offers an immersive experience that captures attention, facilitates learning, and can be easily updated or repurposed as needed. Elevate your facility orientation with the power of video.
When it comes to improving your facility or site orientation, the first step is to focus on the content. It’s essential to ensure that the information you’re providing is relevant, concise, and easy to understand.
Keep the Instructions Brief
In the world of safety and orientation, less is often more. Overloading your audience with too much information can lead to confusion and a lack of retention. Therefore, it’s crucial to keep your instructions brief and to the point. Focus on the key points that are absolutely necessary for the safety and efficiency of your operations.
Trim Unnecessary Information
While it might be tempting to include every single detail about your facility or site, it’s important to remember that not all information is equally important. Trim out any unnecessary information that doesn’t directly contribute to the safety, understanding, or efficiency of your operations. This will help to keep your audience’s attention focused on the most critical aspects of the orientation.
Use the Platform as an Opportunity to Show, Not Tell
One of the greatest advantages of using video for your facility or site orientation is the ability to visually demonstrate procedures, routes, and safety measures. Instead of simply telling your audience what to do, you can show them. This not only makes the information more engaging but also easier to understand and remember. Use this opportunity to visually guide your audience through the key aspects of your facility or site, making the orientation process more effective and efficient.
The Limitations of Traditional Methods in Facility Safety Orientation
- Limited Engagement: Slides and instructor-led presentations often lack the dynamic and engaging elements that can capture and hold attention. This can lead to participants losing interest and not fully absorbing the information.
- Inconsistent Delivery: Depending on the presenter, the information can be delivered differently each time, leading to inconsistencies in what is communicated.
- Limited Visual Aids: While slides can include images, they can’t show motion or demonstrate procedures in the same way a video can. This can make it harder for participants to visualize and remember certain processes or procedures.
- Scheduling Constraints: Instructor-led presentations require coordinating schedules between the presenter and participants. This can be particularly challenging for facilities that operate 24/7 or have employees in different time zones.
- Lack of Interactivity: Traditional presentations are typically one-way communication. They don’t offer the same opportunities for interactivity that a well-designed video can, such as quizzes or interactive elements to test understanding.
- No Control Over Pace: In a live presentation, participants can’t control the pace of the information being delivered. With a video, however, participants can pause, rewind, or rewatch sections as needed to fully understand the material.
Switching to video for facility orientation can help overcome these challenges, providing a more engaging, consistent, and flexible method of delivering important information.
The Power of Video in Facility Safety Orientation
Video has emerged as a powerful medium for conveying information, particularly in the context of facility orientation. Its effectiveness lies in its ability to captivate audiences and deliver information in a manner that is both engaging and memorable.
When we watch a video, we’re not just passively receiving information. We’re immersed in a visual narrative that commands our attention and stimulates our senses. This level of engagement makes it easier for us to absorb and retain the information being presented.
Moreover, video has the unique advantage of being able to visually demonstrate procedures and routes. This is particularly beneficial in a facility orientation context, where understanding the layout of a facility or the steps of a safety procedure is crucial. Through video, employees can see these procedures and routes in action, which can lead to better comprehension and recall compared to reading text or listening to verbal instructions.
Additionally, video offers flexibility in terms of pacing. Viewers have the control to pause, rewind, or re-watch sections as needed, allowing them to learn at their own pace and revisit complex or important information.
In essence, the use of video for facility orientation leverages the power of visual storytelling to deliver a more effective, engaging, and memorable learning experience.
Key Elements to Include in a Facility Safety Orientation Video
Creating an effective Facility Orientation Video involves more than just filming your premises. It’s about strategically incorporating key elements that address safety protocols, operational procedures, and site-specific rules. Here are some topics to consider for a comprehensive and engaging orientation video:
- Personal Protective Equipment: Show how to wear the proper equipment and why it’s important.
- Emergency Evacuation Routes: Explain the importance of knowing these routes and how a video can clearly demonstrate them.
- Drug and Alcohol Testing: Highlight the importance of maintaining a drug and alcohol-free workplace to ensure safety and productivity. Discuss the testing procedures and consequences of violations.
- Parking: Provide clear instructions on where to park, emphasizing the importance of adhering to designated parking areas for safety and organization.
- Safety Meetings: Explain the purpose and frequency of safety meetings, emphasizing their role in fostering a culture of safety and open communication.
- Equipment: Discuss the proper use, maintenance, and safety protocols for equipment used in the facility.
- Weather: Address how weather conditions can impact operations and safety, and outline procedures for different weather scenarios.
- Flammable: Discuss the risks associated with flammable materials, and provide guidelines for their safe handling and storage.
- Hot Work: Explain what constitutes hot work, the potential hazards, and the safety measures to be followed.
- HazCom: Highlight the importance of understanding Hazard Communication standards for handling hazardous chemicals safely.
- Confined Space: Discuss the risks associated with working in confined spaces and the necessary precautions and procedures.
- Lockout/Tagout: Explain the lockout/tagout procedures used to ensure machinery is properly shut off and not started up unexpectedly.
- Fall Protection: Discuss the importance of fall protection measures in preventing workplace injuries, and outline the equipment and procedures used.
- First Aid: Highlight the availability and location of first aid kits, and discuss basic first aid procedures.
- Driving on Site: Provide guidelines for safe driving within the facility, including speed limits, right-of-way rules, and parking instructions.
Additional Resources
If you’re looking for a deep dive on any of the topics listed, or need to add more topics, we recommend checking out the American Society of Safety Professionals for free educational resources.
The Process of Creating a Facility Orientation Video
Creating a video for facility orientation is a meticulous process that involves several stages, each contributing to the final product’s effectiveness and quality.
Pre-Production
The process begins with planning, where the objectives of the video are defined, and the key messages to be conveyed are identified. This stage also involves determining the video’s target audience, which can influence the tone, style, and content of the video.
Once the planning phase is complete, the next step is scripting. This involves crafting a narrative that effectively communicates the desired information in an engaging and understandable manner. The script serves as the blueprint for the video, outlining the dialogue, visual elements, and the sequence of scenes.
Production
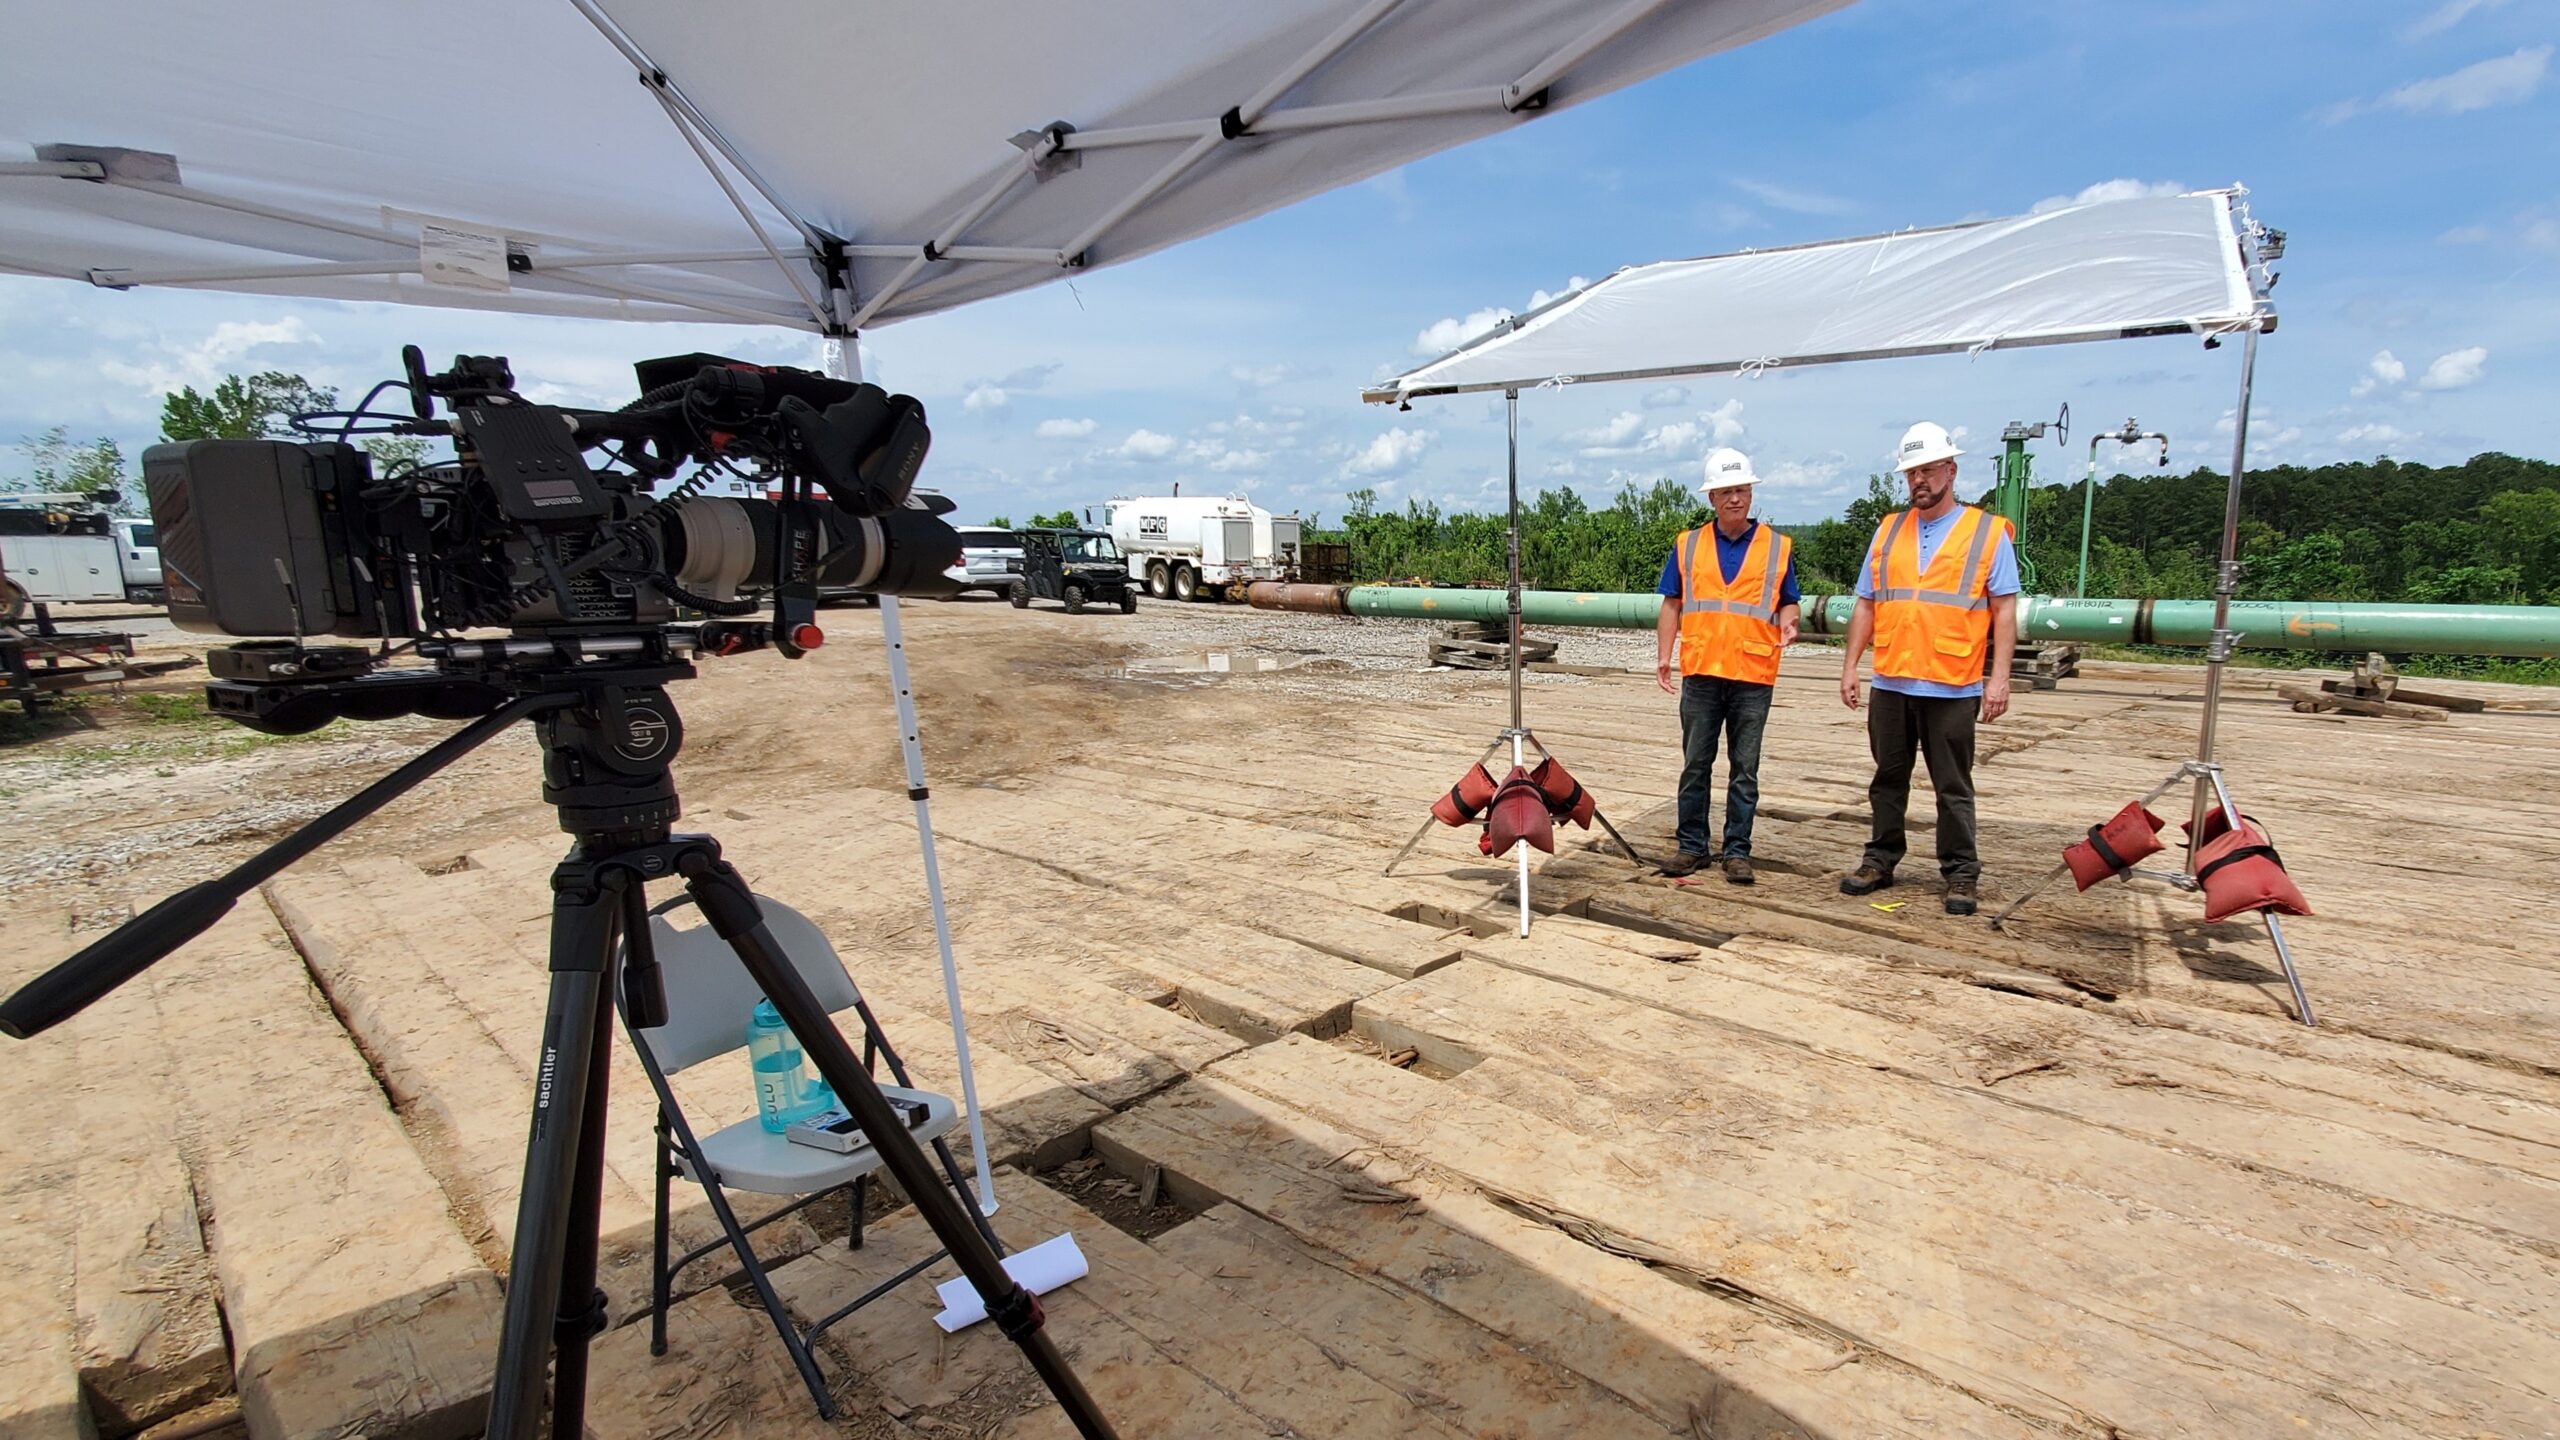
With the script in hand, the filming stage commences. This is where the script comes to life. It involves capturing the footage according to the script, which may include filming at the facility, recording voiceovers, and capturing any necessary b-roll footage. Attention to detail is crucial during this stage to ensure that all visual elements align with the script and effectively convey the intended message.
Post-Production
The final stage is editing, where all the captured footage is pieced together to create the final video. This involves selecting the best shots, arranging them in the right sequence, adding any necessary visual effects or graphics, and syncing the visuals with the audio. The editing stage can significantly influence the video’s pace, mood, and overall impact, making it a crucial part of the video creation process.
In sum, creating a video for facility orientation is a comprehensive process that requires careful planning, creative scripting, meticulous filming, and thoughtful editing. Each stage plays a vital role in ensuring that the video effectively communicates its intended message and engages its audience.
Conclusion
Switching to video for facility orientation offers numerous benefits. It enhances engagement, improves information retention, and allows for the visual demonstration of procedures and routes. With video, you can create a compelling and immersive experience that captures attention and facilitates learning. Plus, videos are versatile and can be easily updated or repurposed as needed.
Don’t let your facility orientation be a mundane process. Illuminate your orientation with the power of video and see the difference it makes. Ready to make the switch? Contact us at Illuminate Video, and let’s bring your facility orientation to life.


